

Getting Started
Onboard Your First Client
Every engagement starts the same way: tell useHandoff who the client is and what you need from them. Here's the whole flow, start to finish.
Step 1: Click "Onboard Client"
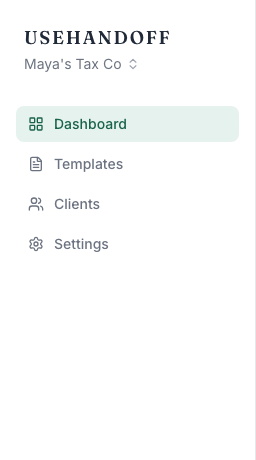
It's the green button pinned to the bottom of your sidebar, always one click away from any screen.
Step 2: Fill in your client's details
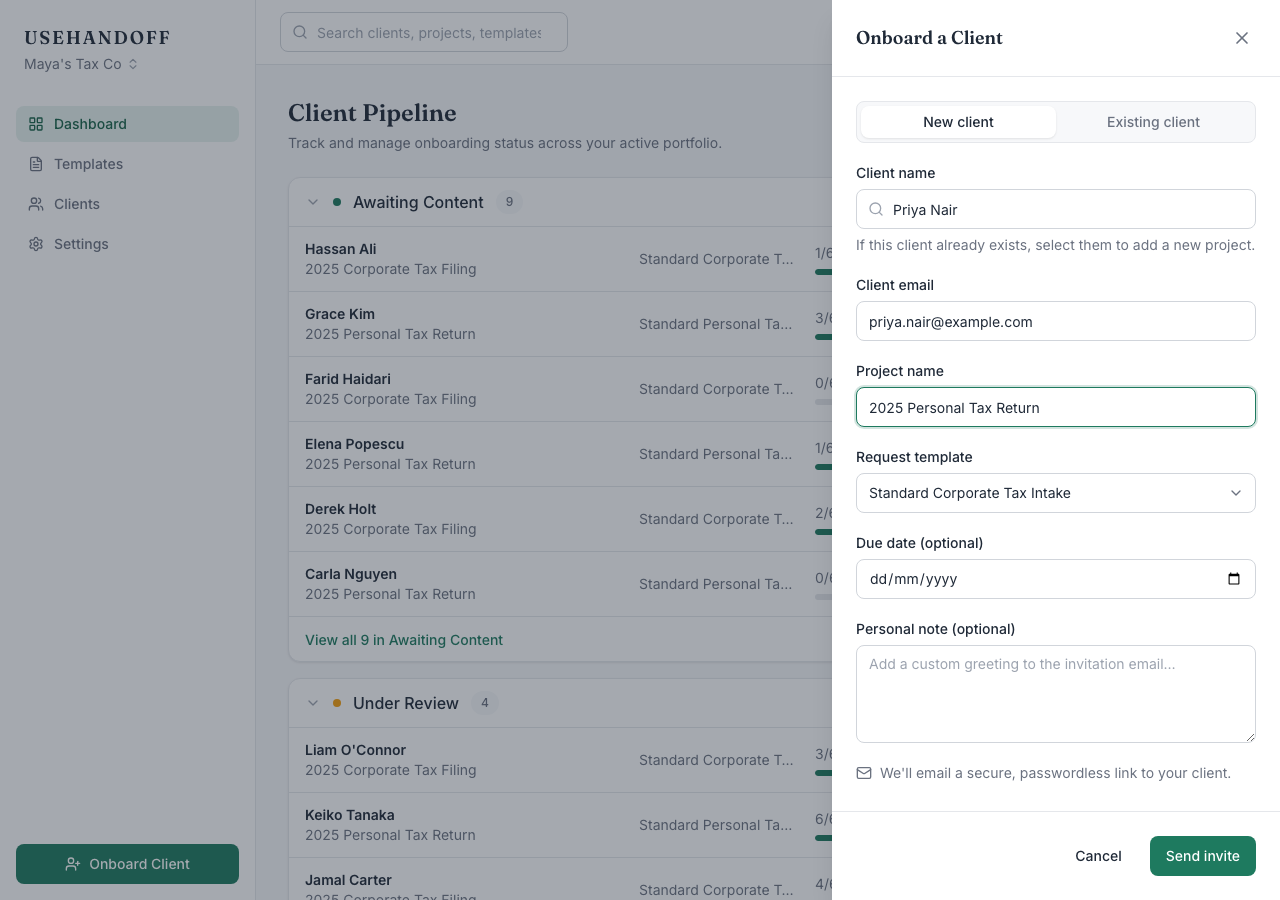
A slide-over opens with two modes: New client (their first project with you) or Existing client (search by name — useHandoff finds close matches even with a typo, and switches automatically to adding a second project instead of creating a duplicate). Add a project name and, optionally, pick a saved template so the checklist fills itself in.
Step 3: Send the invite
Click Send invite and useHandoff emails your client a secure, single-use link — no password for them to set or forget. They land straight on their checklist and can start uploading immediately.
That's it. The project now shows up on your dashboard under Awaiting Content, and you'll see it move automatically as your client makes progress.